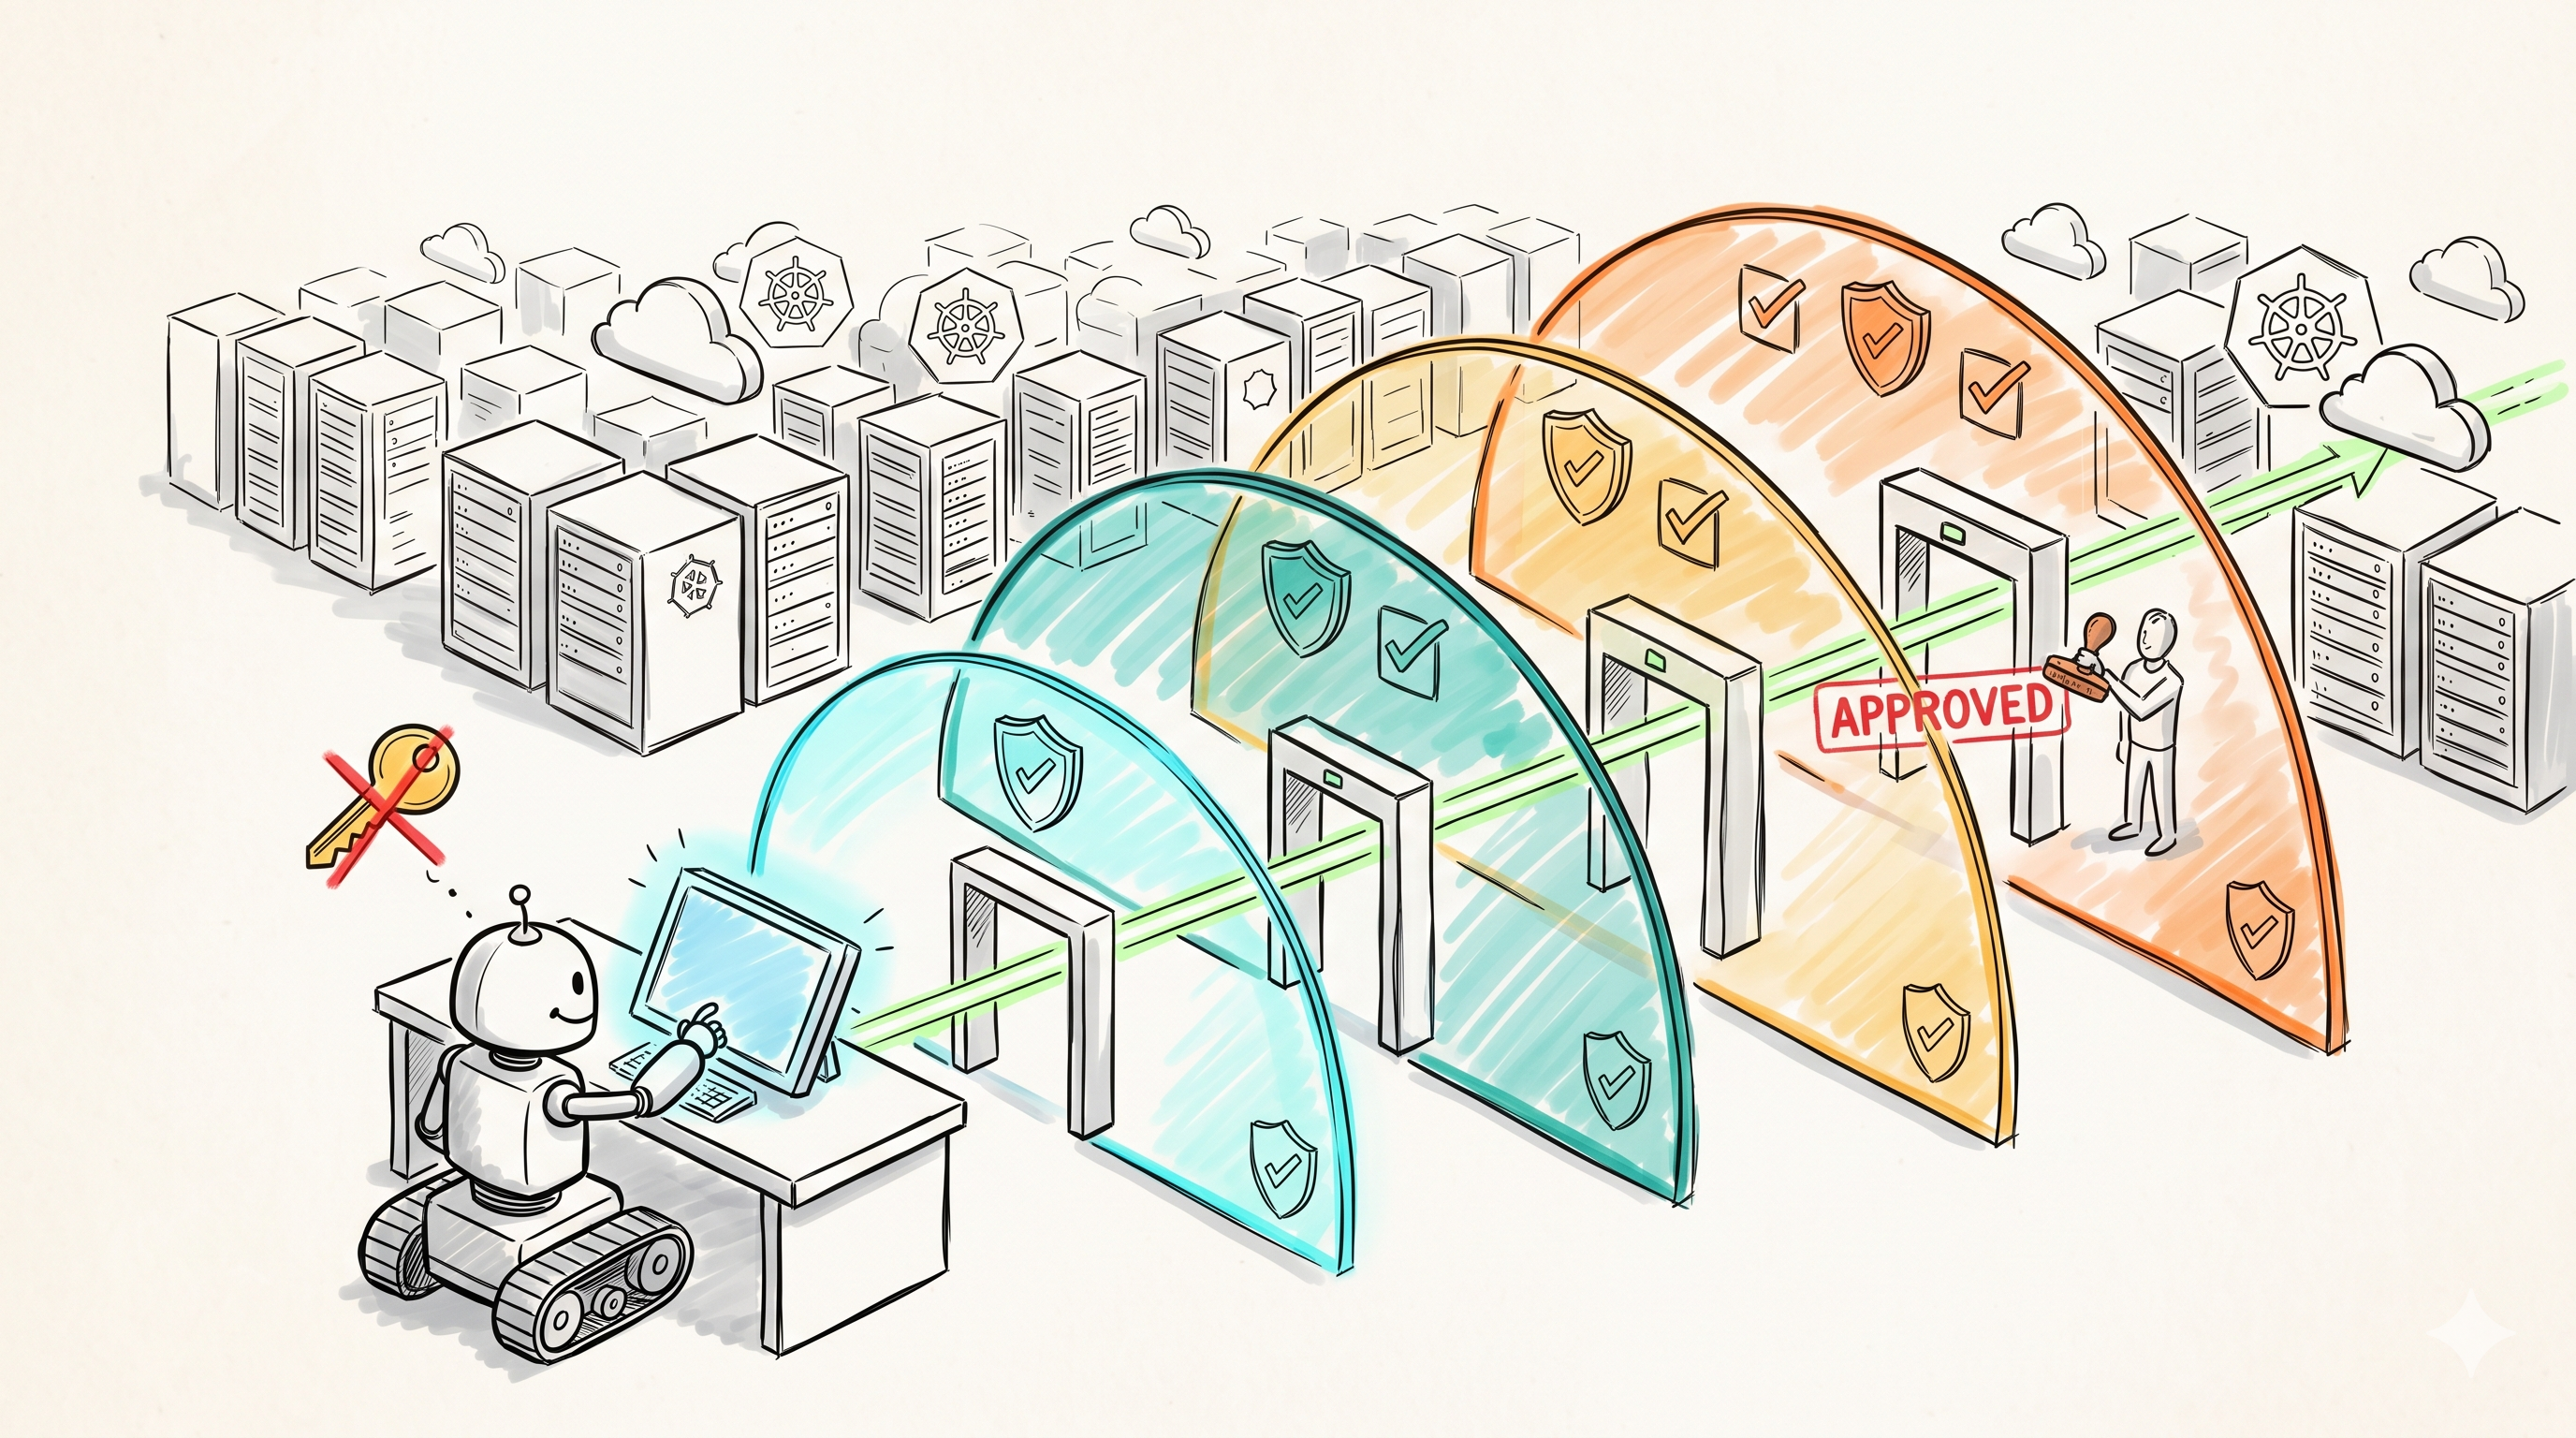
There's a chasm right now between two worlds. AI builders ship agents that demo beautifully — "look, it booked my flight!" — but hand them real cloud access and they spin up 200 EC2 instances, leak IAM keys into logs, or get prompt-injected into deleting a production S3 bucket. Cloud engineers know how to build systems that don't fall over, but treat "AI agent" as a magic box: block it entirely, or hand it root keys and hope.
The middle ground is empty — and that's where the value is. This is a guide to building agents that mutate cloud infrastructure without burning it down: the architecture, the failure modes, and a concrete build you can copy.
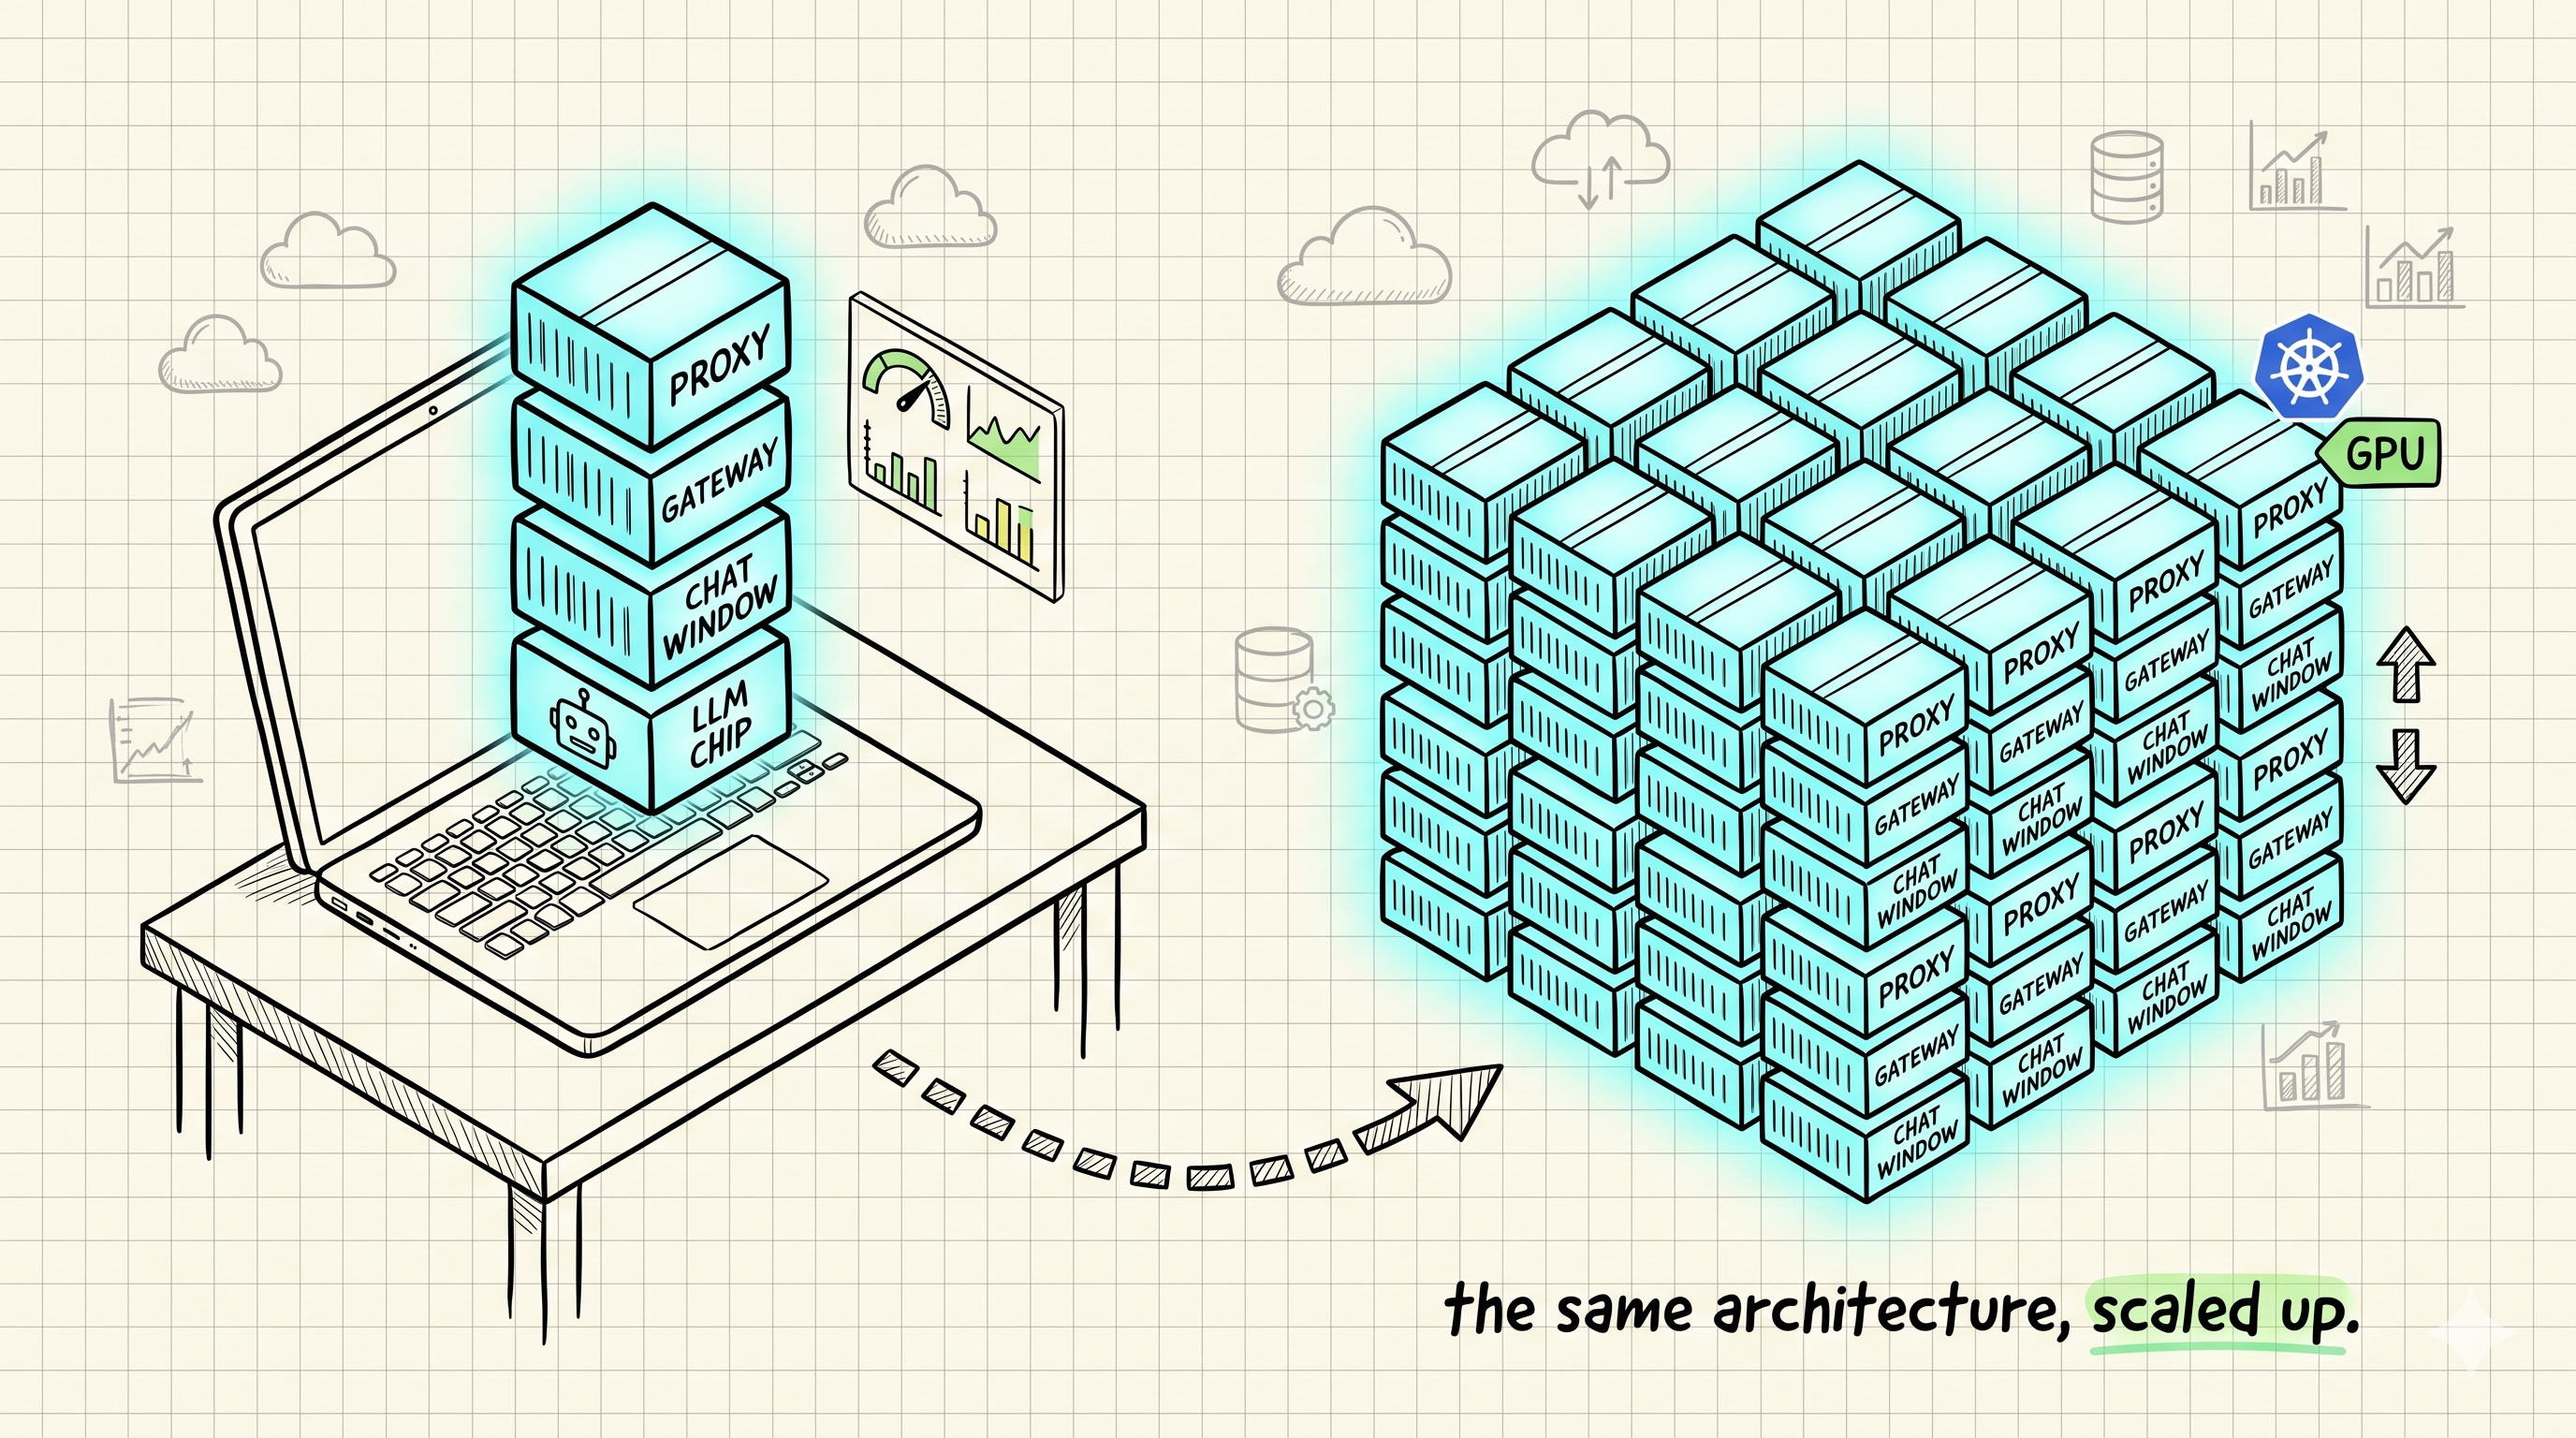
You don't need a GPU cluster to build a real AI platform. Seven containers and one docker compose up give you an OpenAI-compatible gateway, a chat UI, local models, and full observability — on your laptop. And because the API contract never changes, the same architecture maps one-to-one onto production Kubernetes.
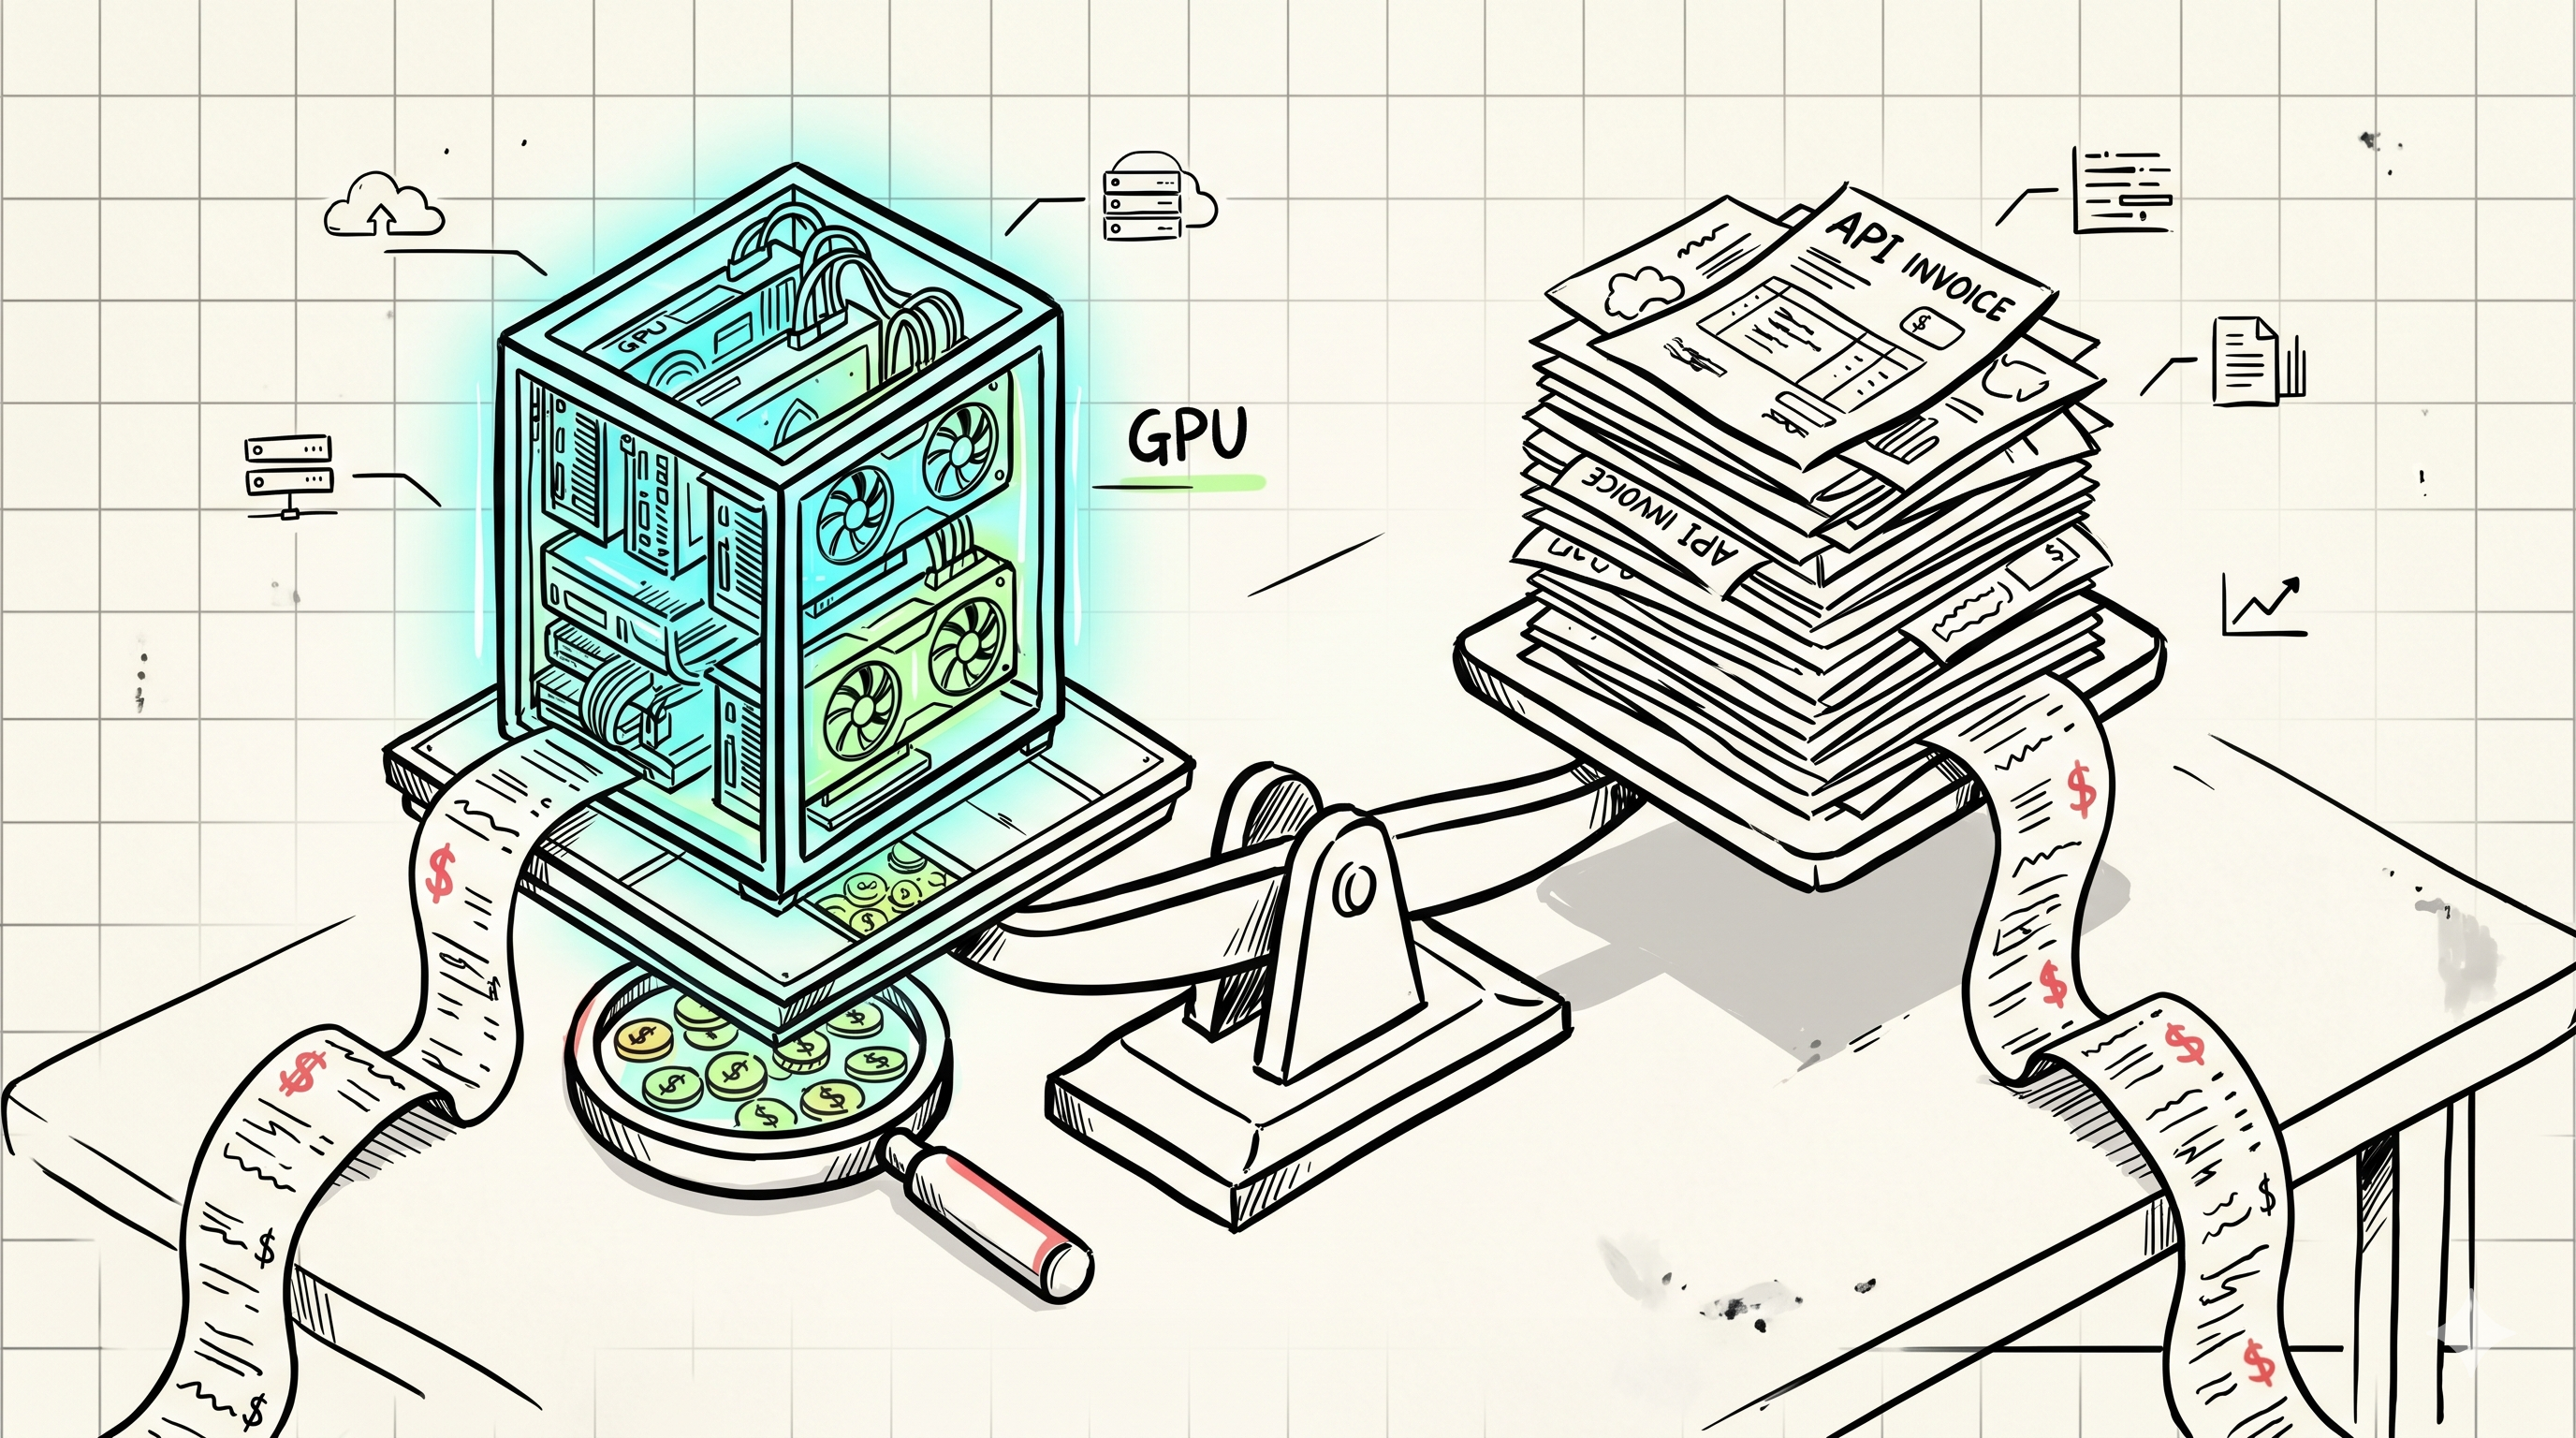
The cloud AI cost conversation is two camps shouting past each other: vendor blogs saying "our managed service is cheaper" and Reddit threads saying "self-hosting saves 90%." Neither shows real bills, so neither is useful.
This post shows the real numbers: 30 days, real production traffic, four configurations, every line item. Spoiler — self-hosting was 31% cheaper on the cloud bill and 33% more expensive once you count engineering time. Both facts are true. The details are what matter.
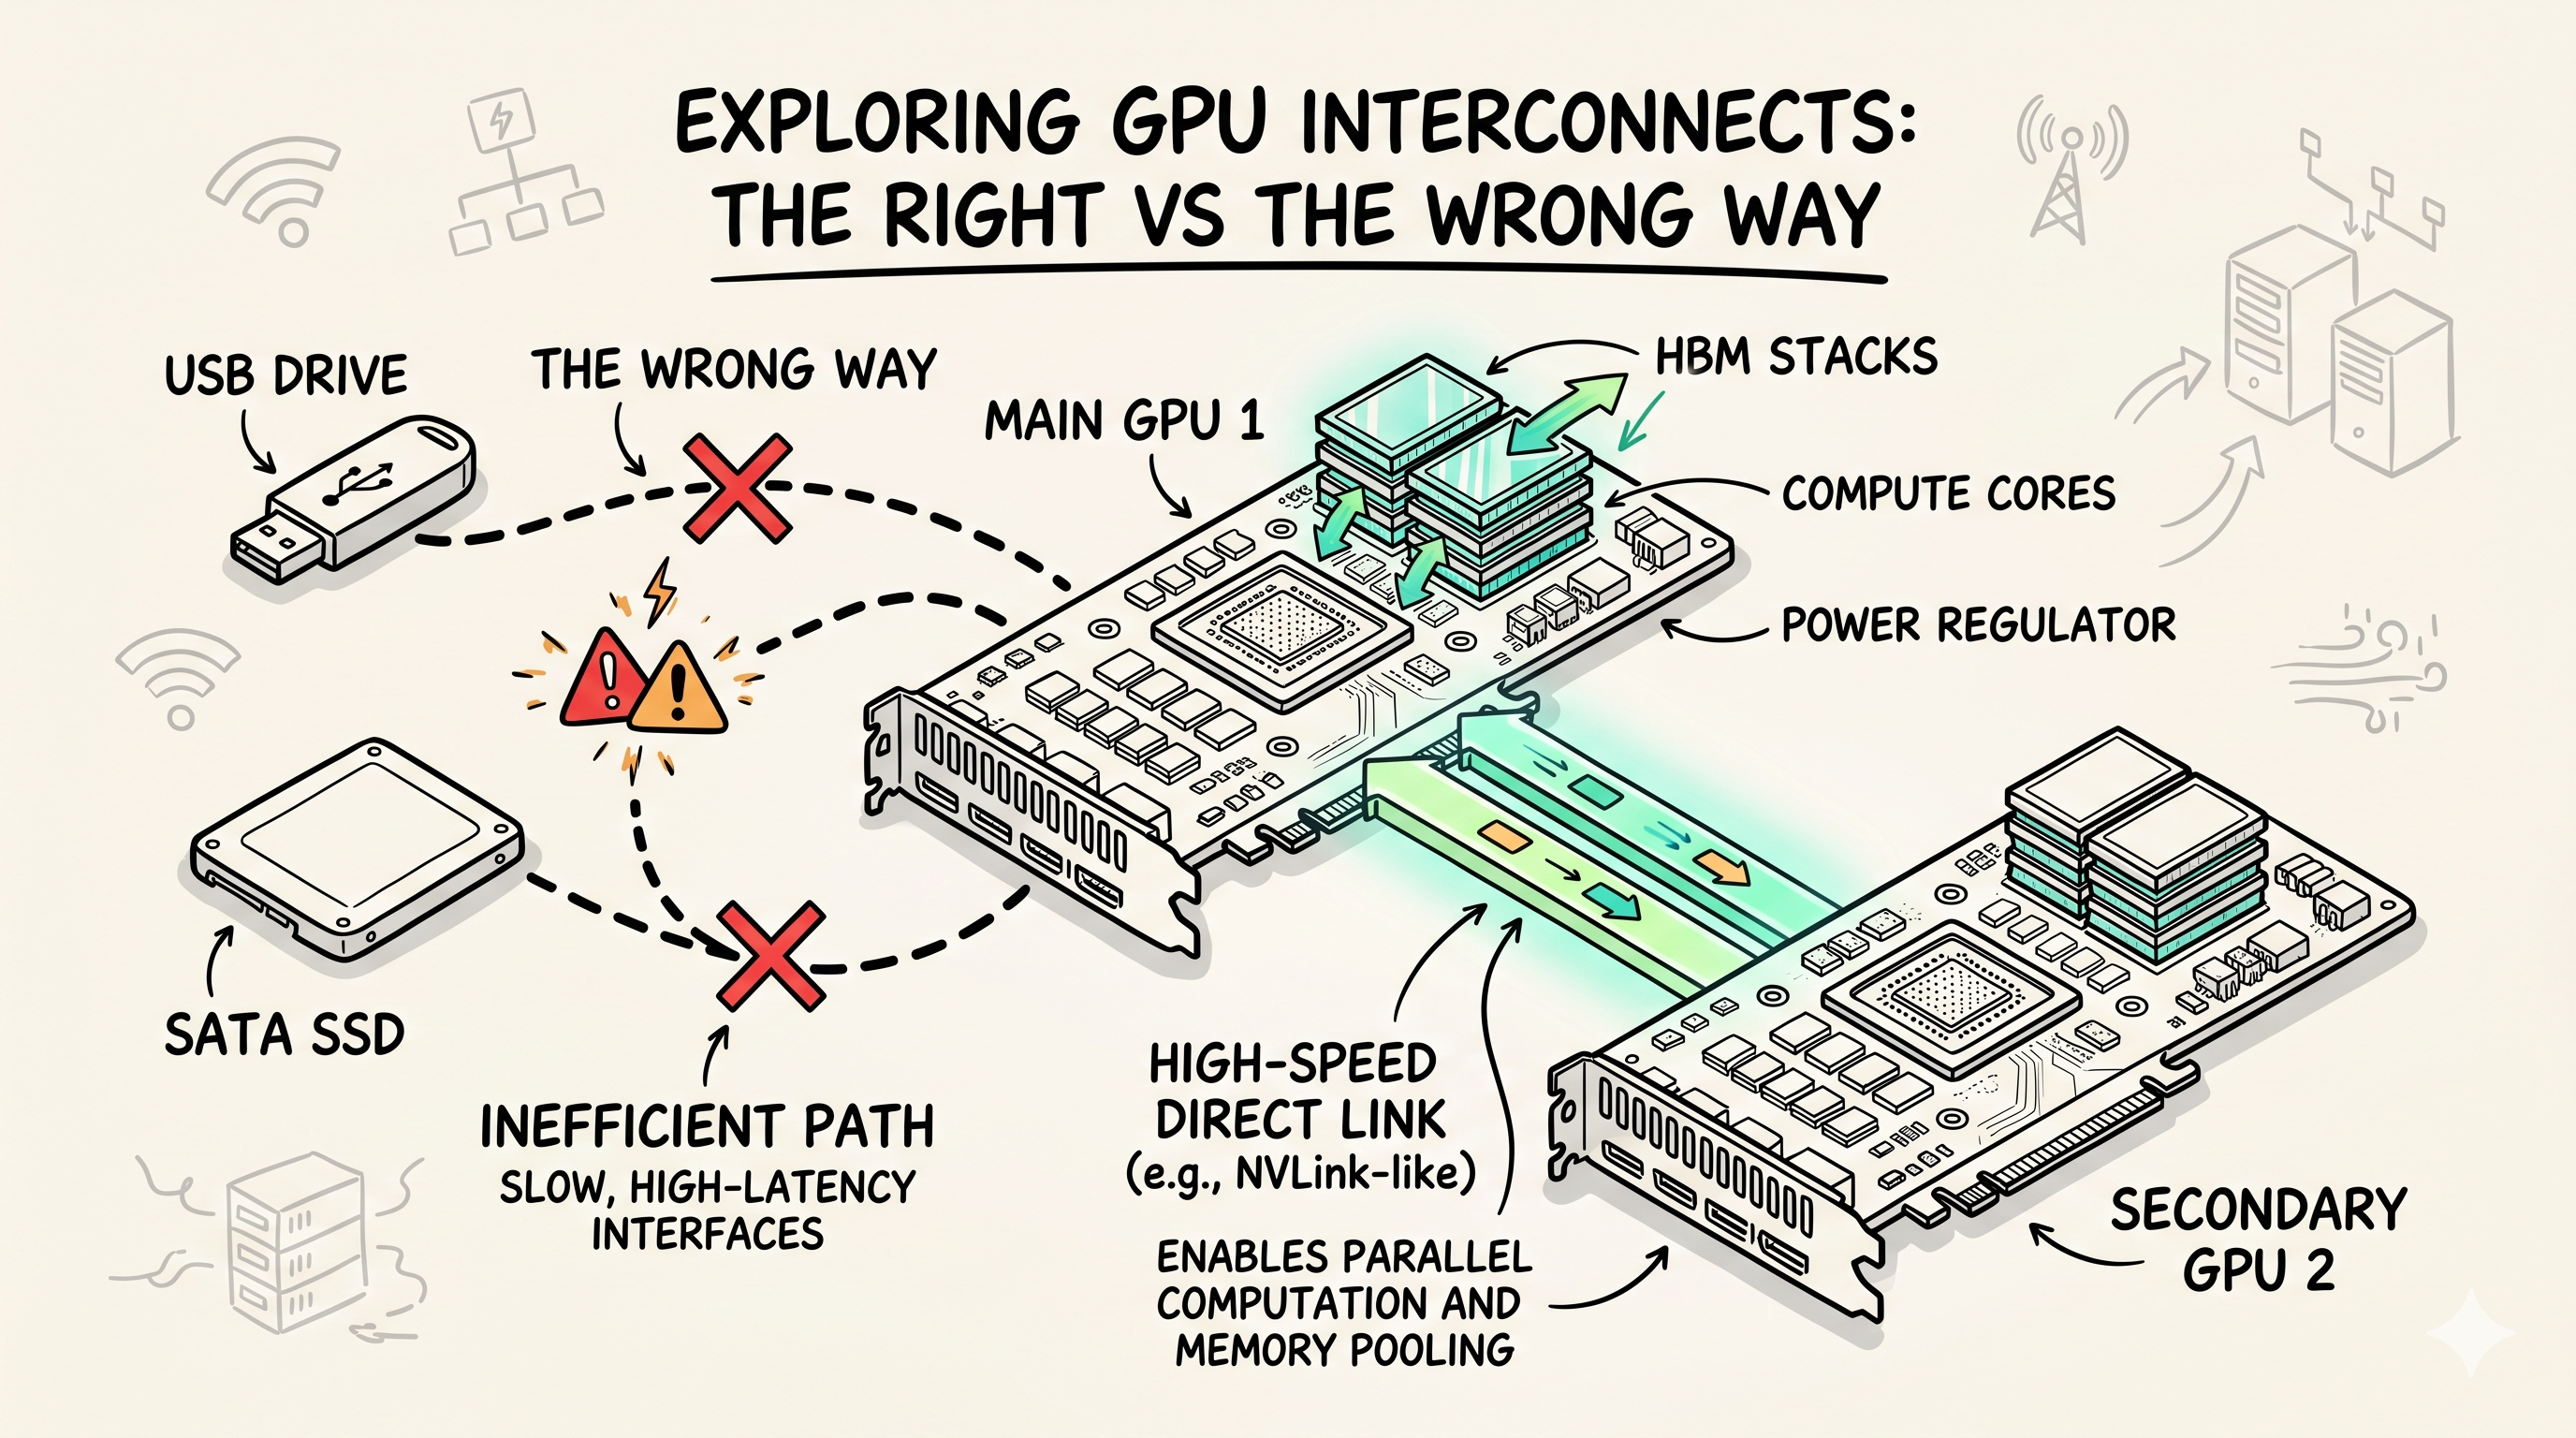
Storage isn't VRAM. eGPUs aren't a data center strategy. Shared memory isn't a capacity plan. Every quarter, an AI infrastructure team somewhere asks the same question: "we're running out of GPU memory, can we just use the SSDs?" No. Here's what actually works at scale, what doesn't, and the procurement and capacity planning playbook for GPU memory in 2026.
This post is written for AI platform engineers, infrastructure architects, and FinOps leads running shared GPU clusters. It's not about a single workstation — it's about a fleet. The unit of analysis is the rack, the budget, and the quarter.
Once the fleet exists, two companion posts cover what runs on it: engine selection and quantization (which engine, which precision, when to call an API instead) and GPU Autoscaling is Broken (scaling LLM inference under real load). This one is the layer above both: how much GPU memory to buy in the first place.
Most AI apps in 2026 still ship as "browser → OpenAI" with an API key in the frontend bundle. This is broken in every dimension that matters: security, cost, observability, provider lock-in, and rate limiting. The fix is a Backend-for-Frontend (BFF) — a thin server between the browser and the LLM provider that owns auth, cost, streaming, and provider abstraction. The browser does UI. The BFF does everything else.
This is the pattern every serious AI product has converged on by 2026. Here's what it looks like, why each piece exists, and how to build it without over-engineering.
Every AI app needs to stream. Most teams pick the wrong transport and spend a week debugging why the first token takes 8 seconds. The LLM is fast — the network in front of it isn't. This post compares the three transports that actually work in production (SSE, WebSockets, gRPC streaming), shows the buffering traps that kill streaming, and gives you the decision framework to pick the right one in 30 seconds.
If you've ever shipped a "ChatGPT-style" streaming endpoint and watched it work in dev, then break in staging behind nginx, this is the post for you.
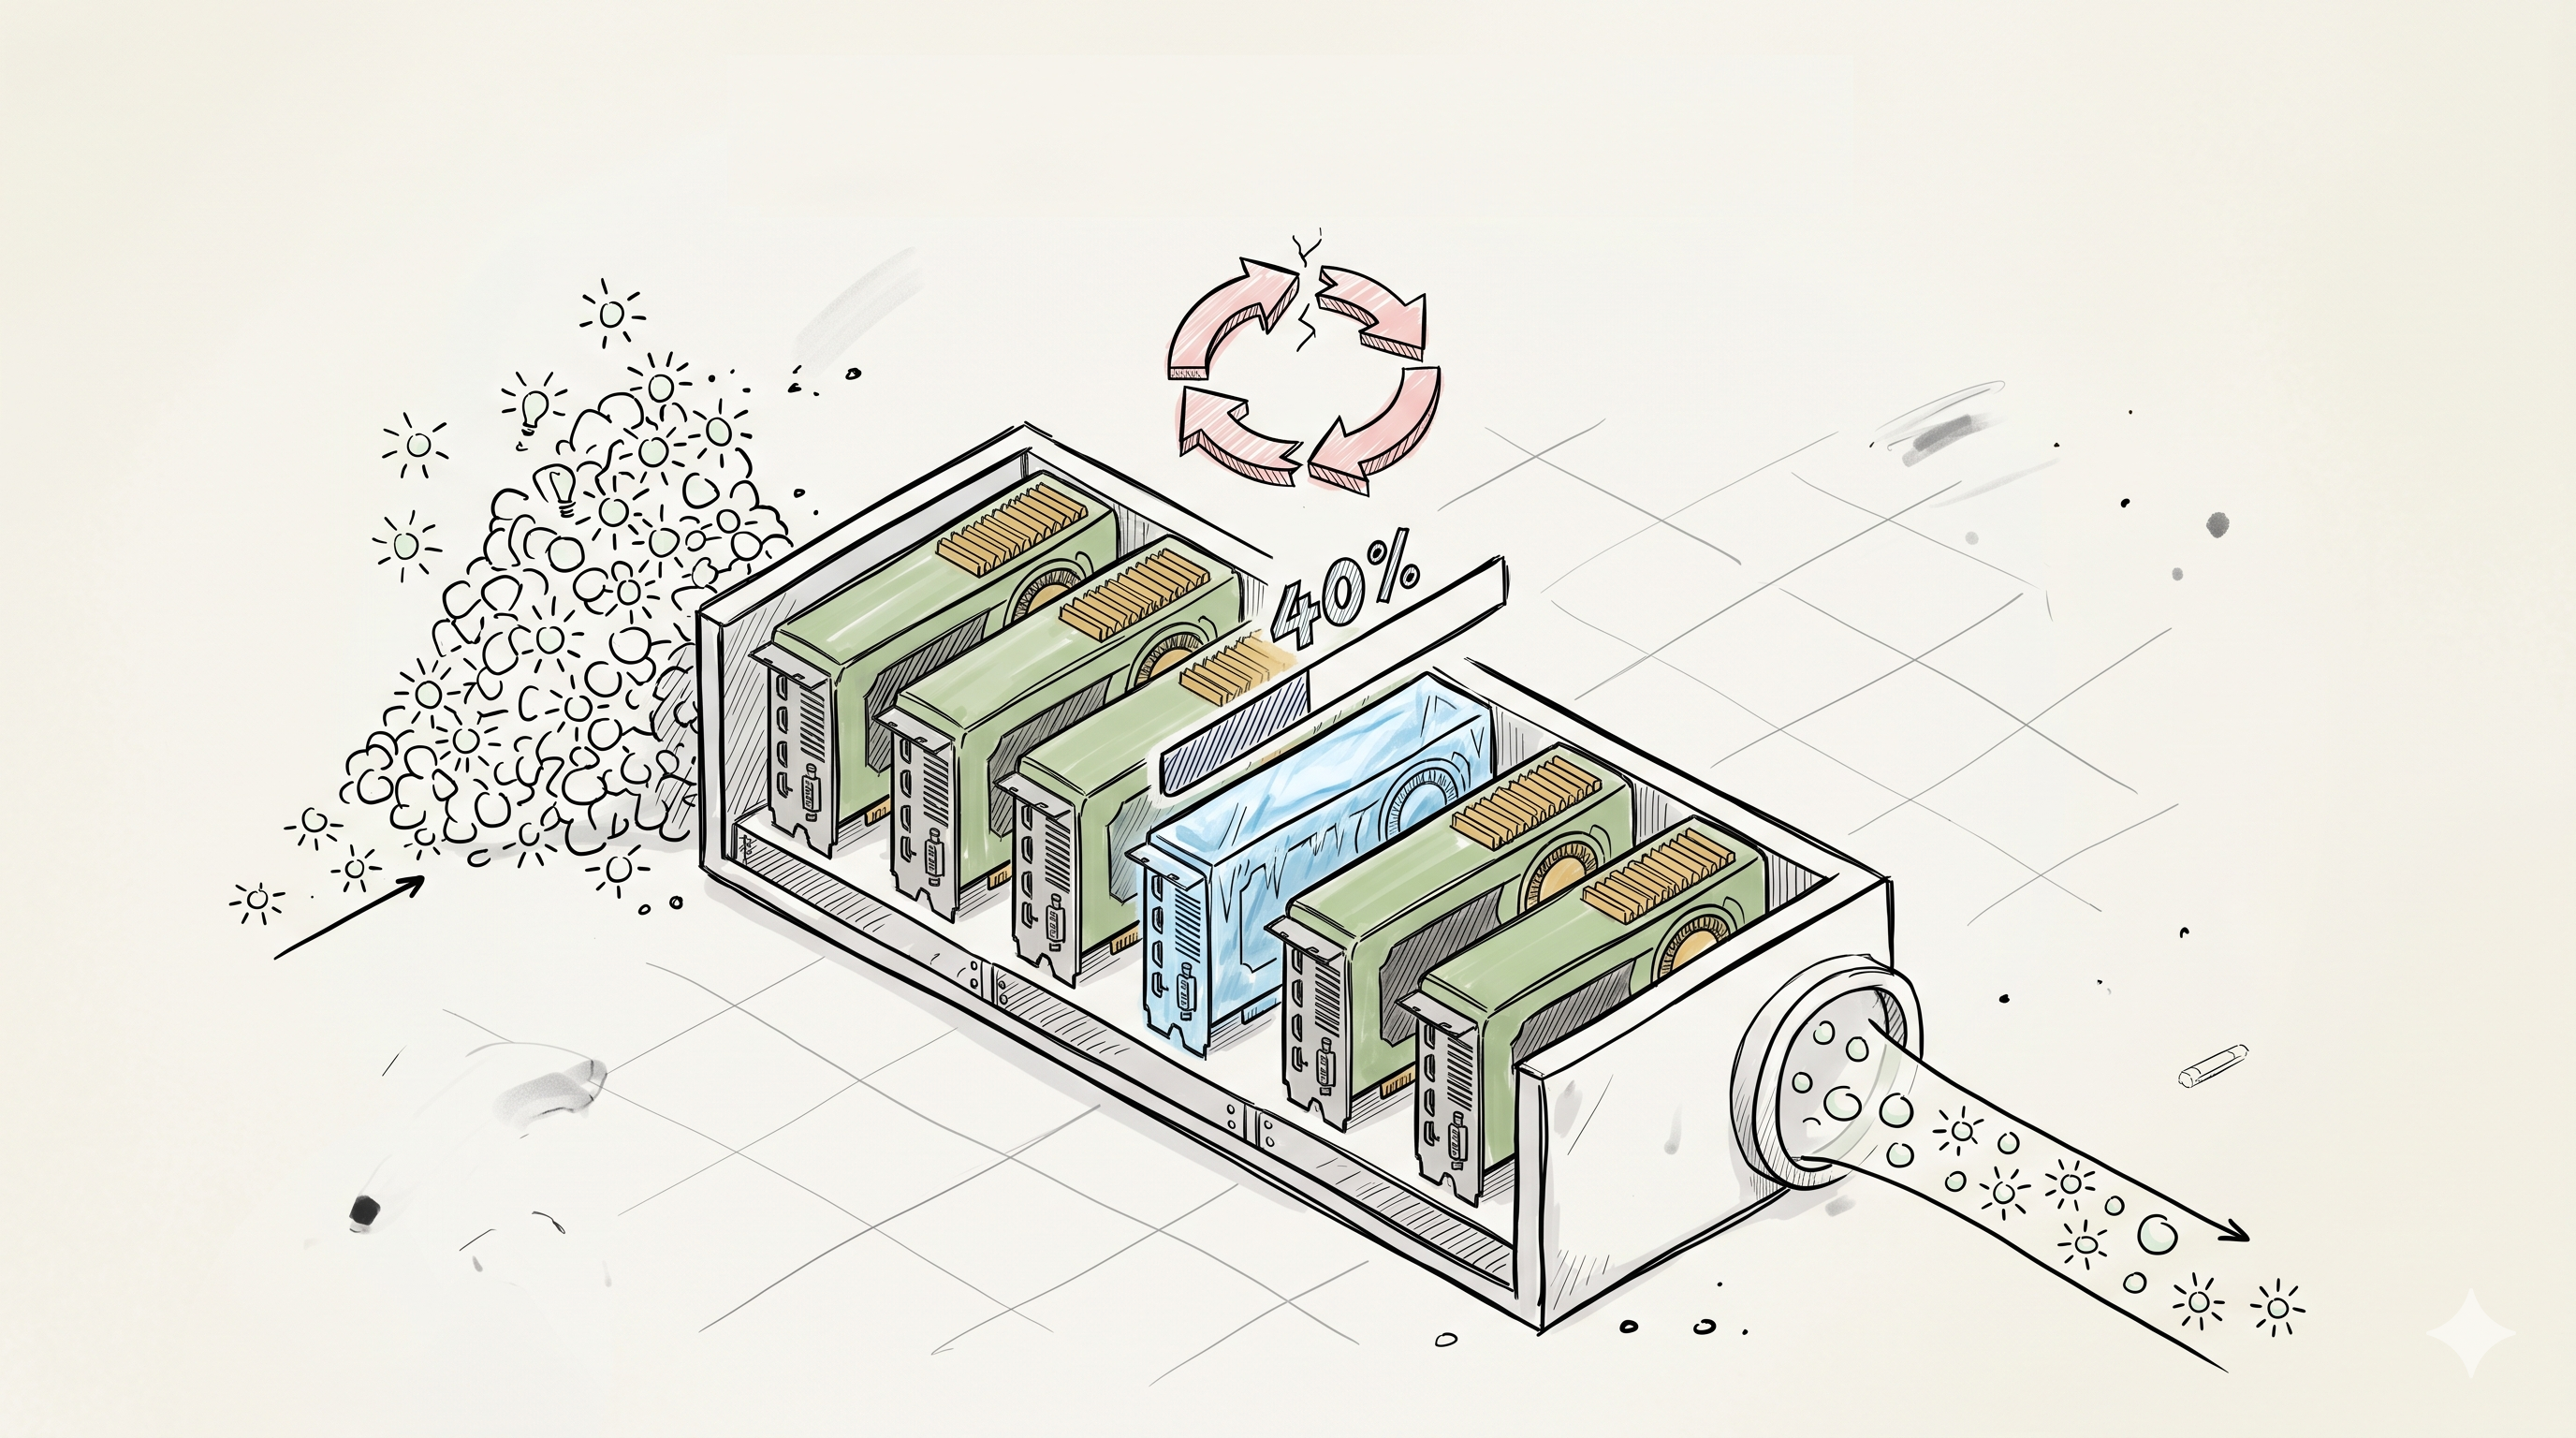
Standard Kubernetes autoscaling assumes more load = more pods = more capacity. With stateless REST APIs, that works. With LLM inference, it falls apart — and it took us three months of production pain at 10K QPS to figure out why.
This post covers the four patterns that actually worked, the exact configs we run, and the numbers before and after: p99 latency from 12s down to 1.8s, OOM kills from 3% to under 0.1%, GPU utilization from 40% to 75%.
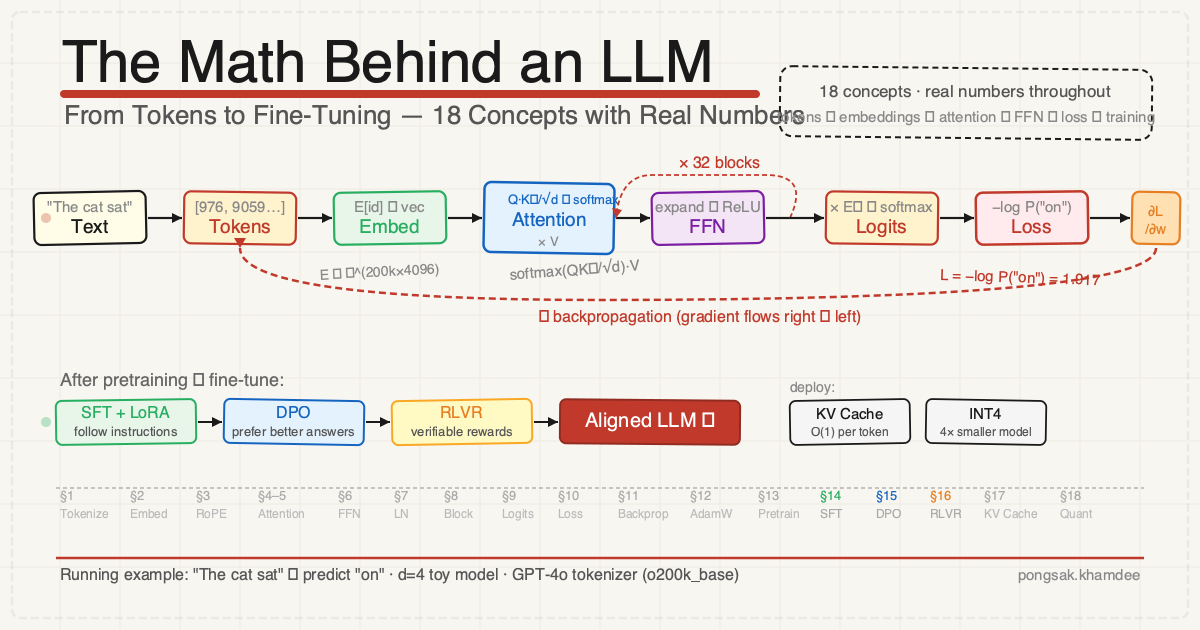
Most LLM explainers either skip the math entirely or dump you into a research paper. This one is neither. We'll walk every equation with real numbers, using the same three-token sentence — "The cat sat" — all the way from raw text to gradient updates.
By the end, you'll be able to trace any weight in any layer and know exactly what changed it, why, and by how much.
Most LLM tutorials give you one of two things: a high-level diagram with boxes and arrows, or a 10,000-line codebase with no explanation of why each piece exists.
This post is neither. It's a step-by-step lifecycle — 8 phases, each with working PyTorch code, the reasoning behind every decision, and an explicit Do / Don't list that captures the mistakes that cost most beginners weeks of wasted compute.
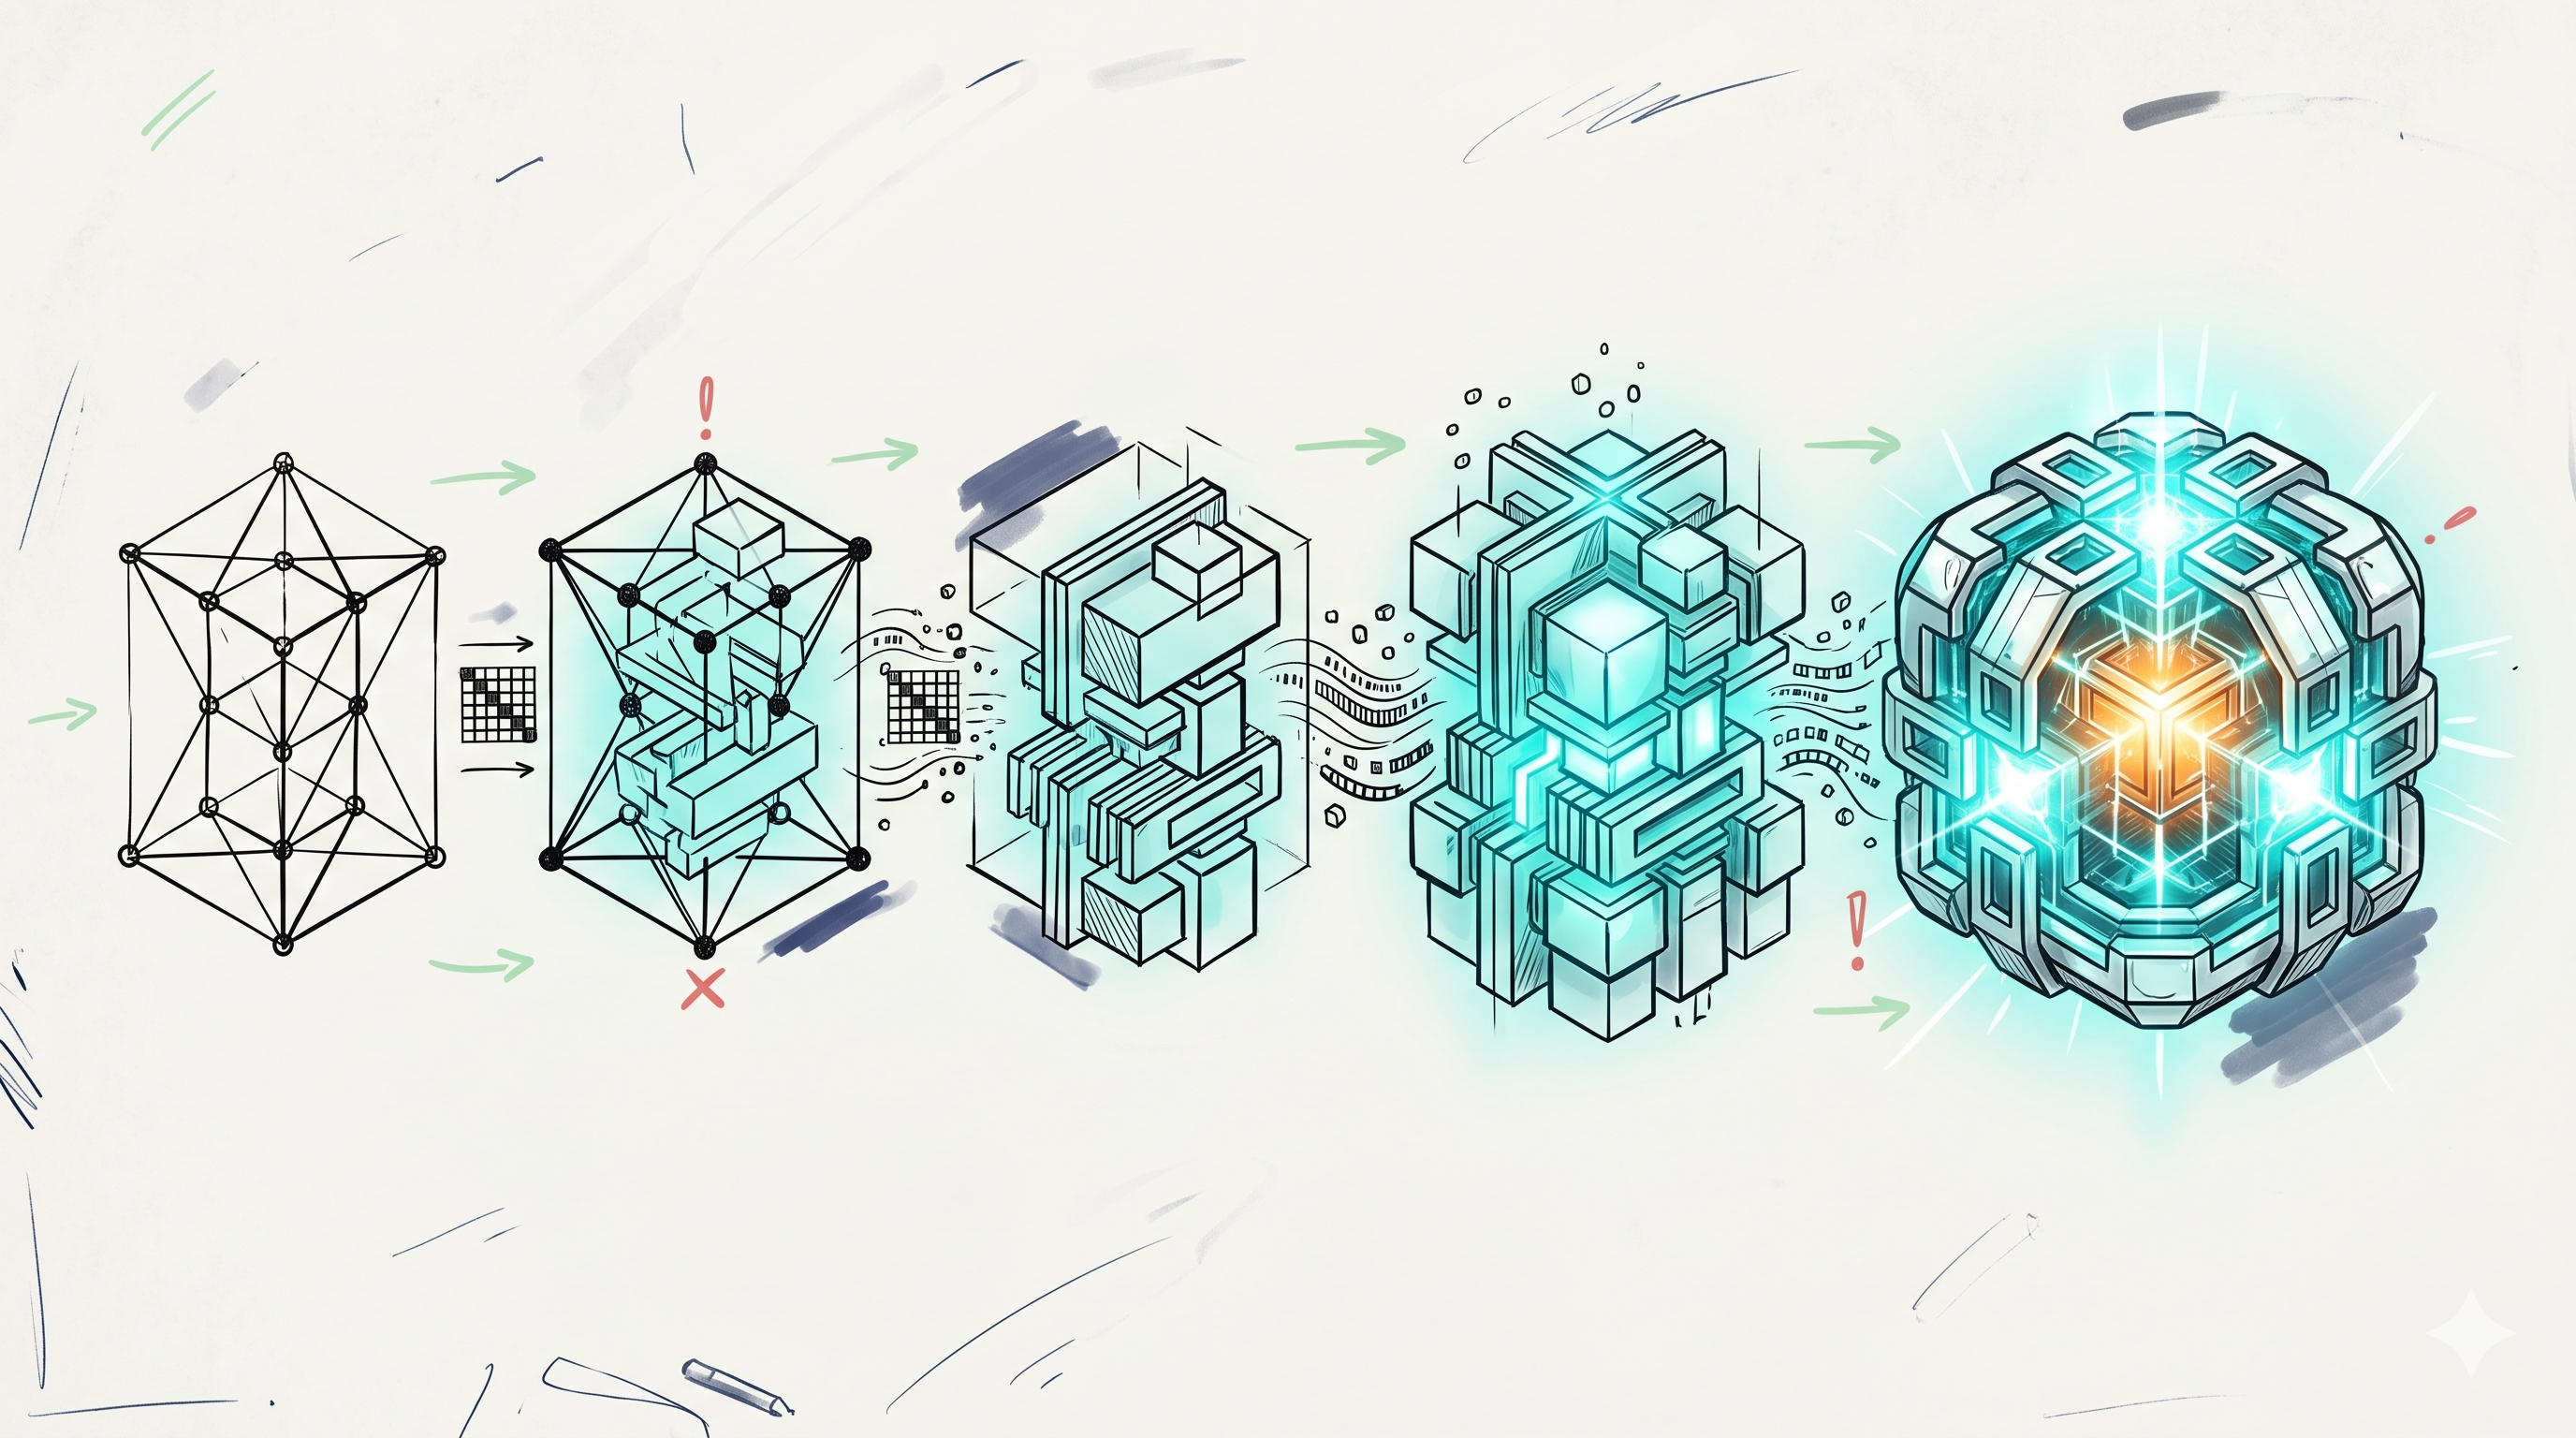
By the end you'll have built, trained, modernised, scaled, and aligned a language model — the exact same lifecycle that produced every major LLM you've used.
Phase 1: Core Transformer    → the engine
Phase 2: Train a Tiny LLM    → prove the pipeline works
Phase 3: Modernise           → match 2026 architecture
Phase 4: Scale Efficiently   → push past toy datasets
Phase 5: Mixture of Experts  → conditional computation
Phase 6: SFT                 → turn autocomplete into an assistant
Phase 7: Reward Modelling    → teach the model what "good" looks like
Phase 8: RLHF                → optimise for human preference
Every snippet in this post has been executed end-to-end on Python 3.13 + PyTorch 2.12, CPU only — including the full 5,000-step Phase 2 training run. Where a verification test caught a bug in an earlier draft (the KV cache, the reward model head, the PPO log-prob gather), the fix is in the code below and the test that caught it is shown so you can run it on your own implementation.
Prerequisites: comfortable Python, basic tensor operations (view, transpose, broadcasting), and the chain rule. No prior transformer experience — that's what Phase 1 is for.
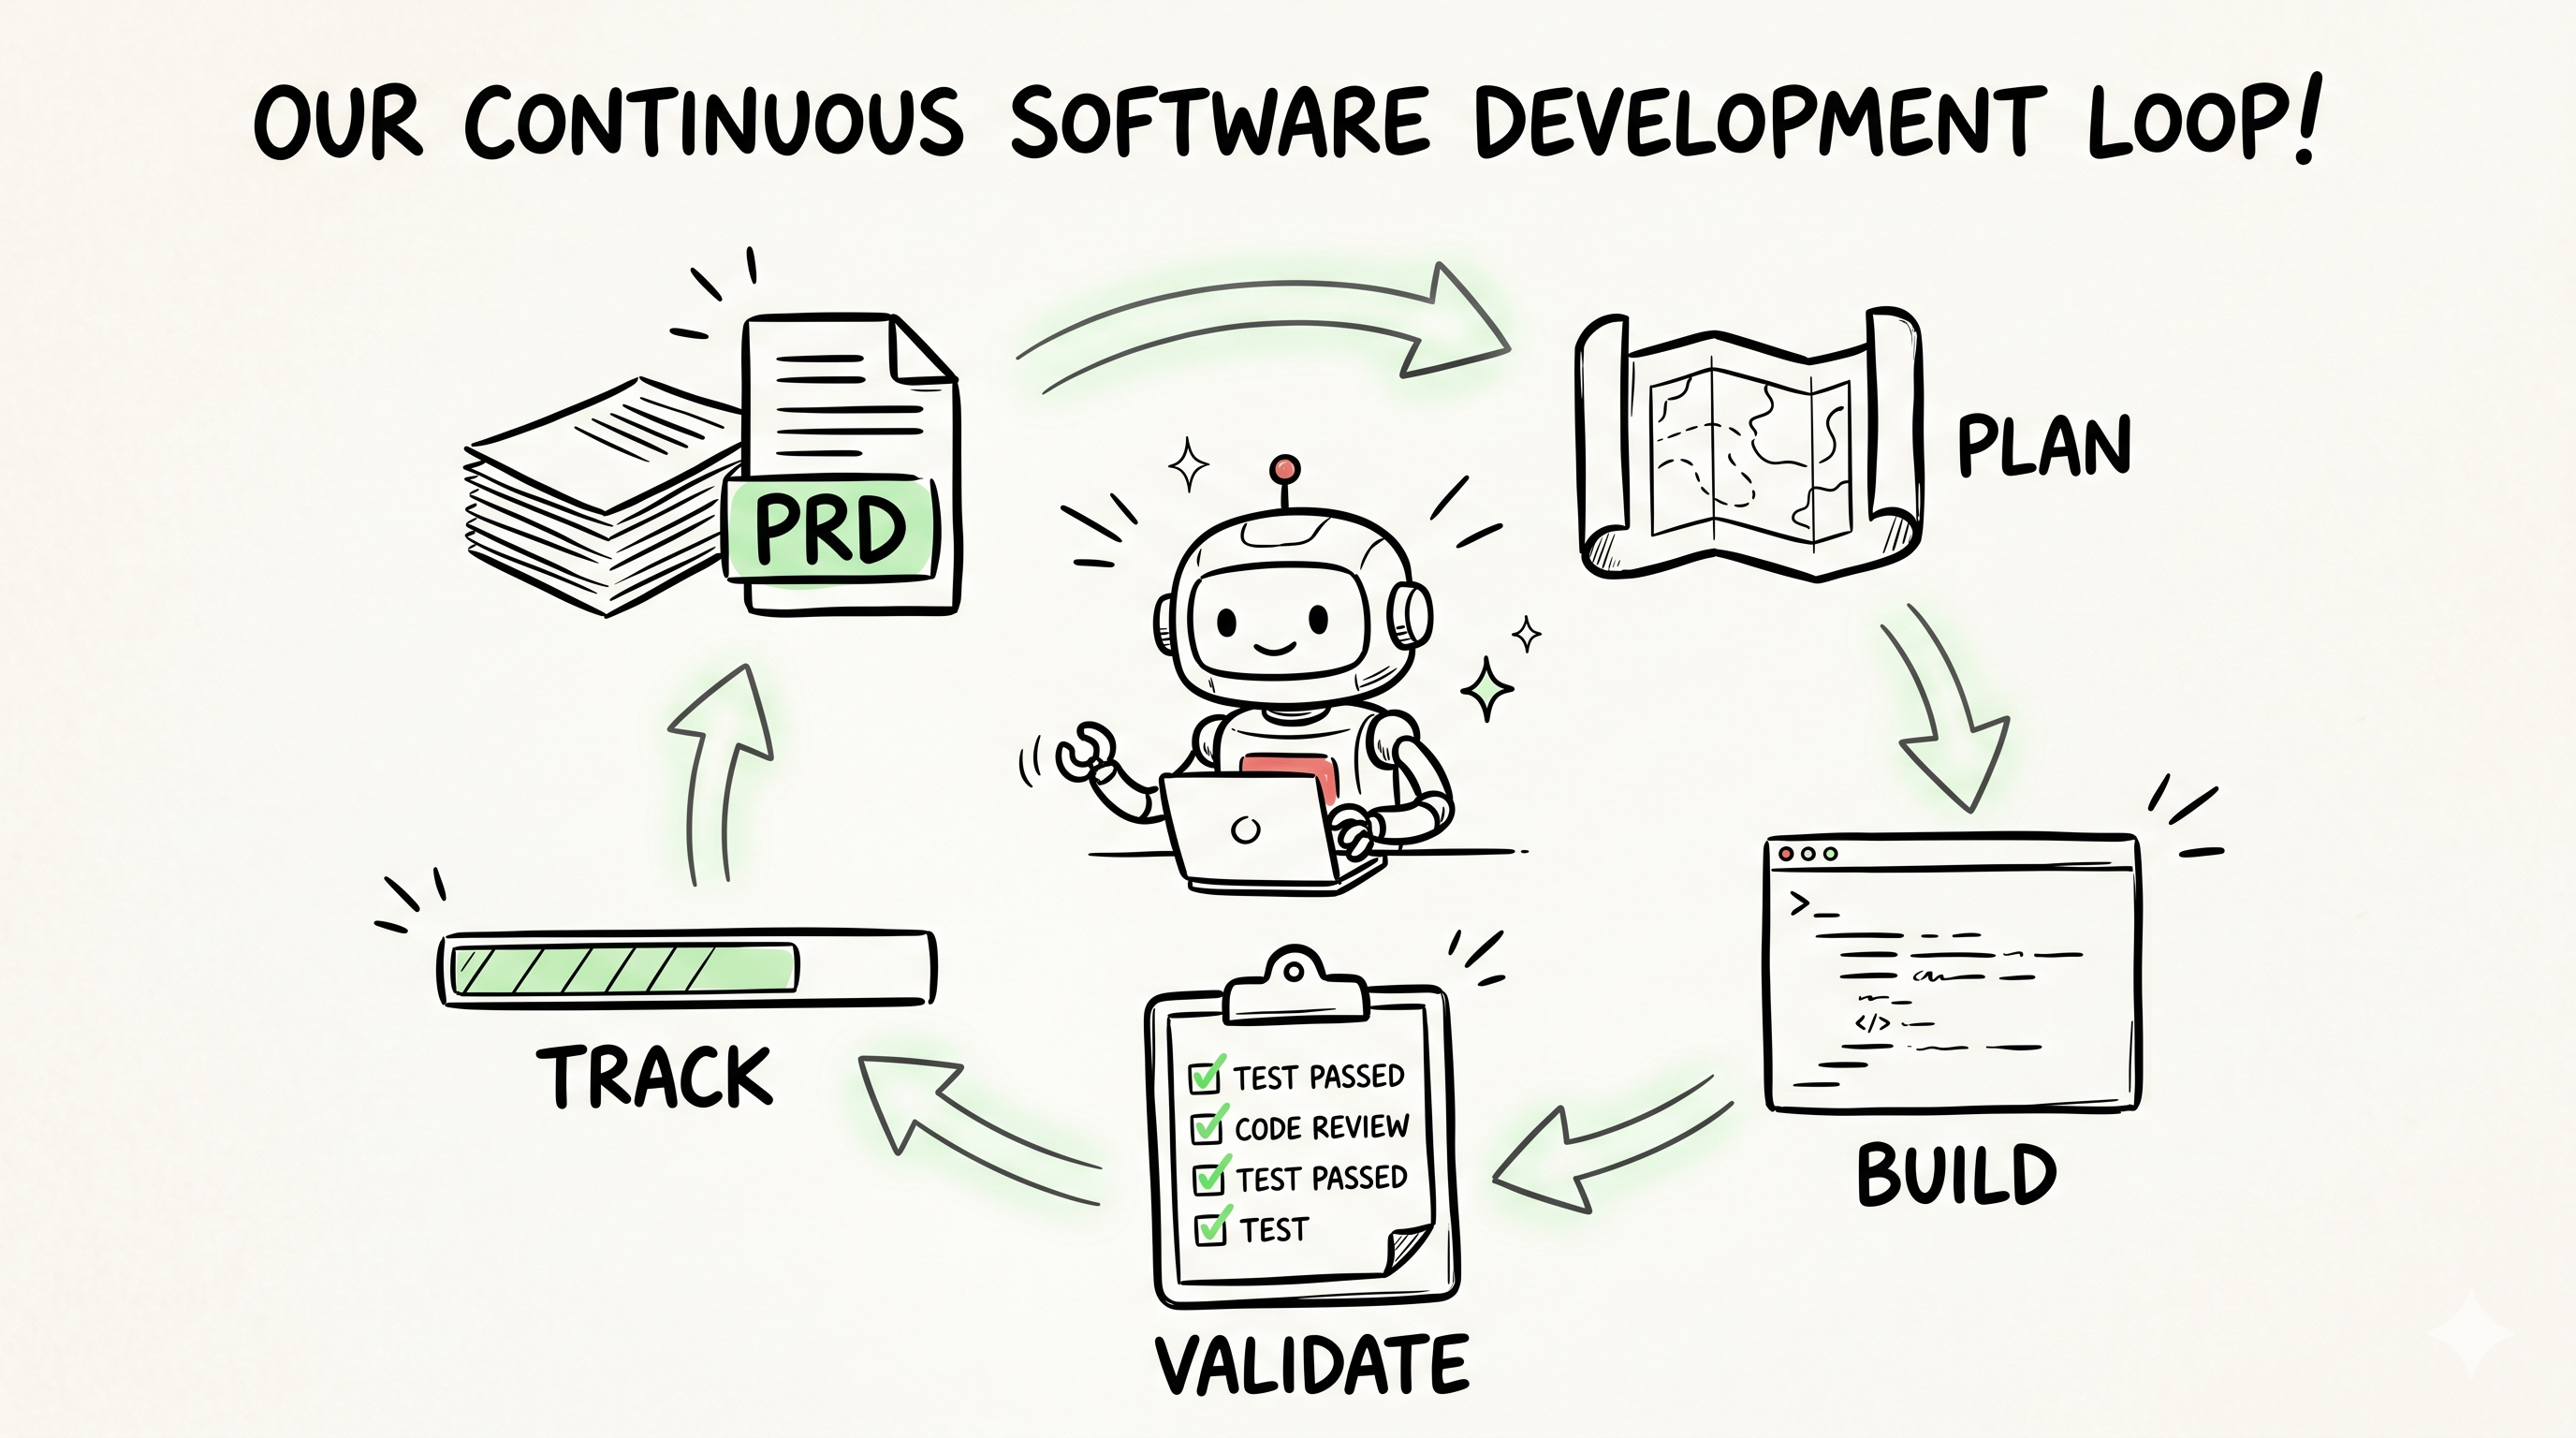
Most people use Claude Code like a chat window: type a request, accept the diff, repeat until it works or breaks. That's fine for a one-off script. For a real project it falls apart fast — the agent forgets decisions, rebuilds things it already built, and you lose track of what's actually done.
The fix isn't a smarter model. It's a project structure that gives the agent memory, process, and guardrails. I found a template that nails this: code-template — a Claude Code starter that defines the full coding loop with 5 files and 3 slash commands. This post walks through how it works and why each piece earns its place.