Building an LLM from Scratch in PyTorch: The Full Lifecycle Cheatsheet
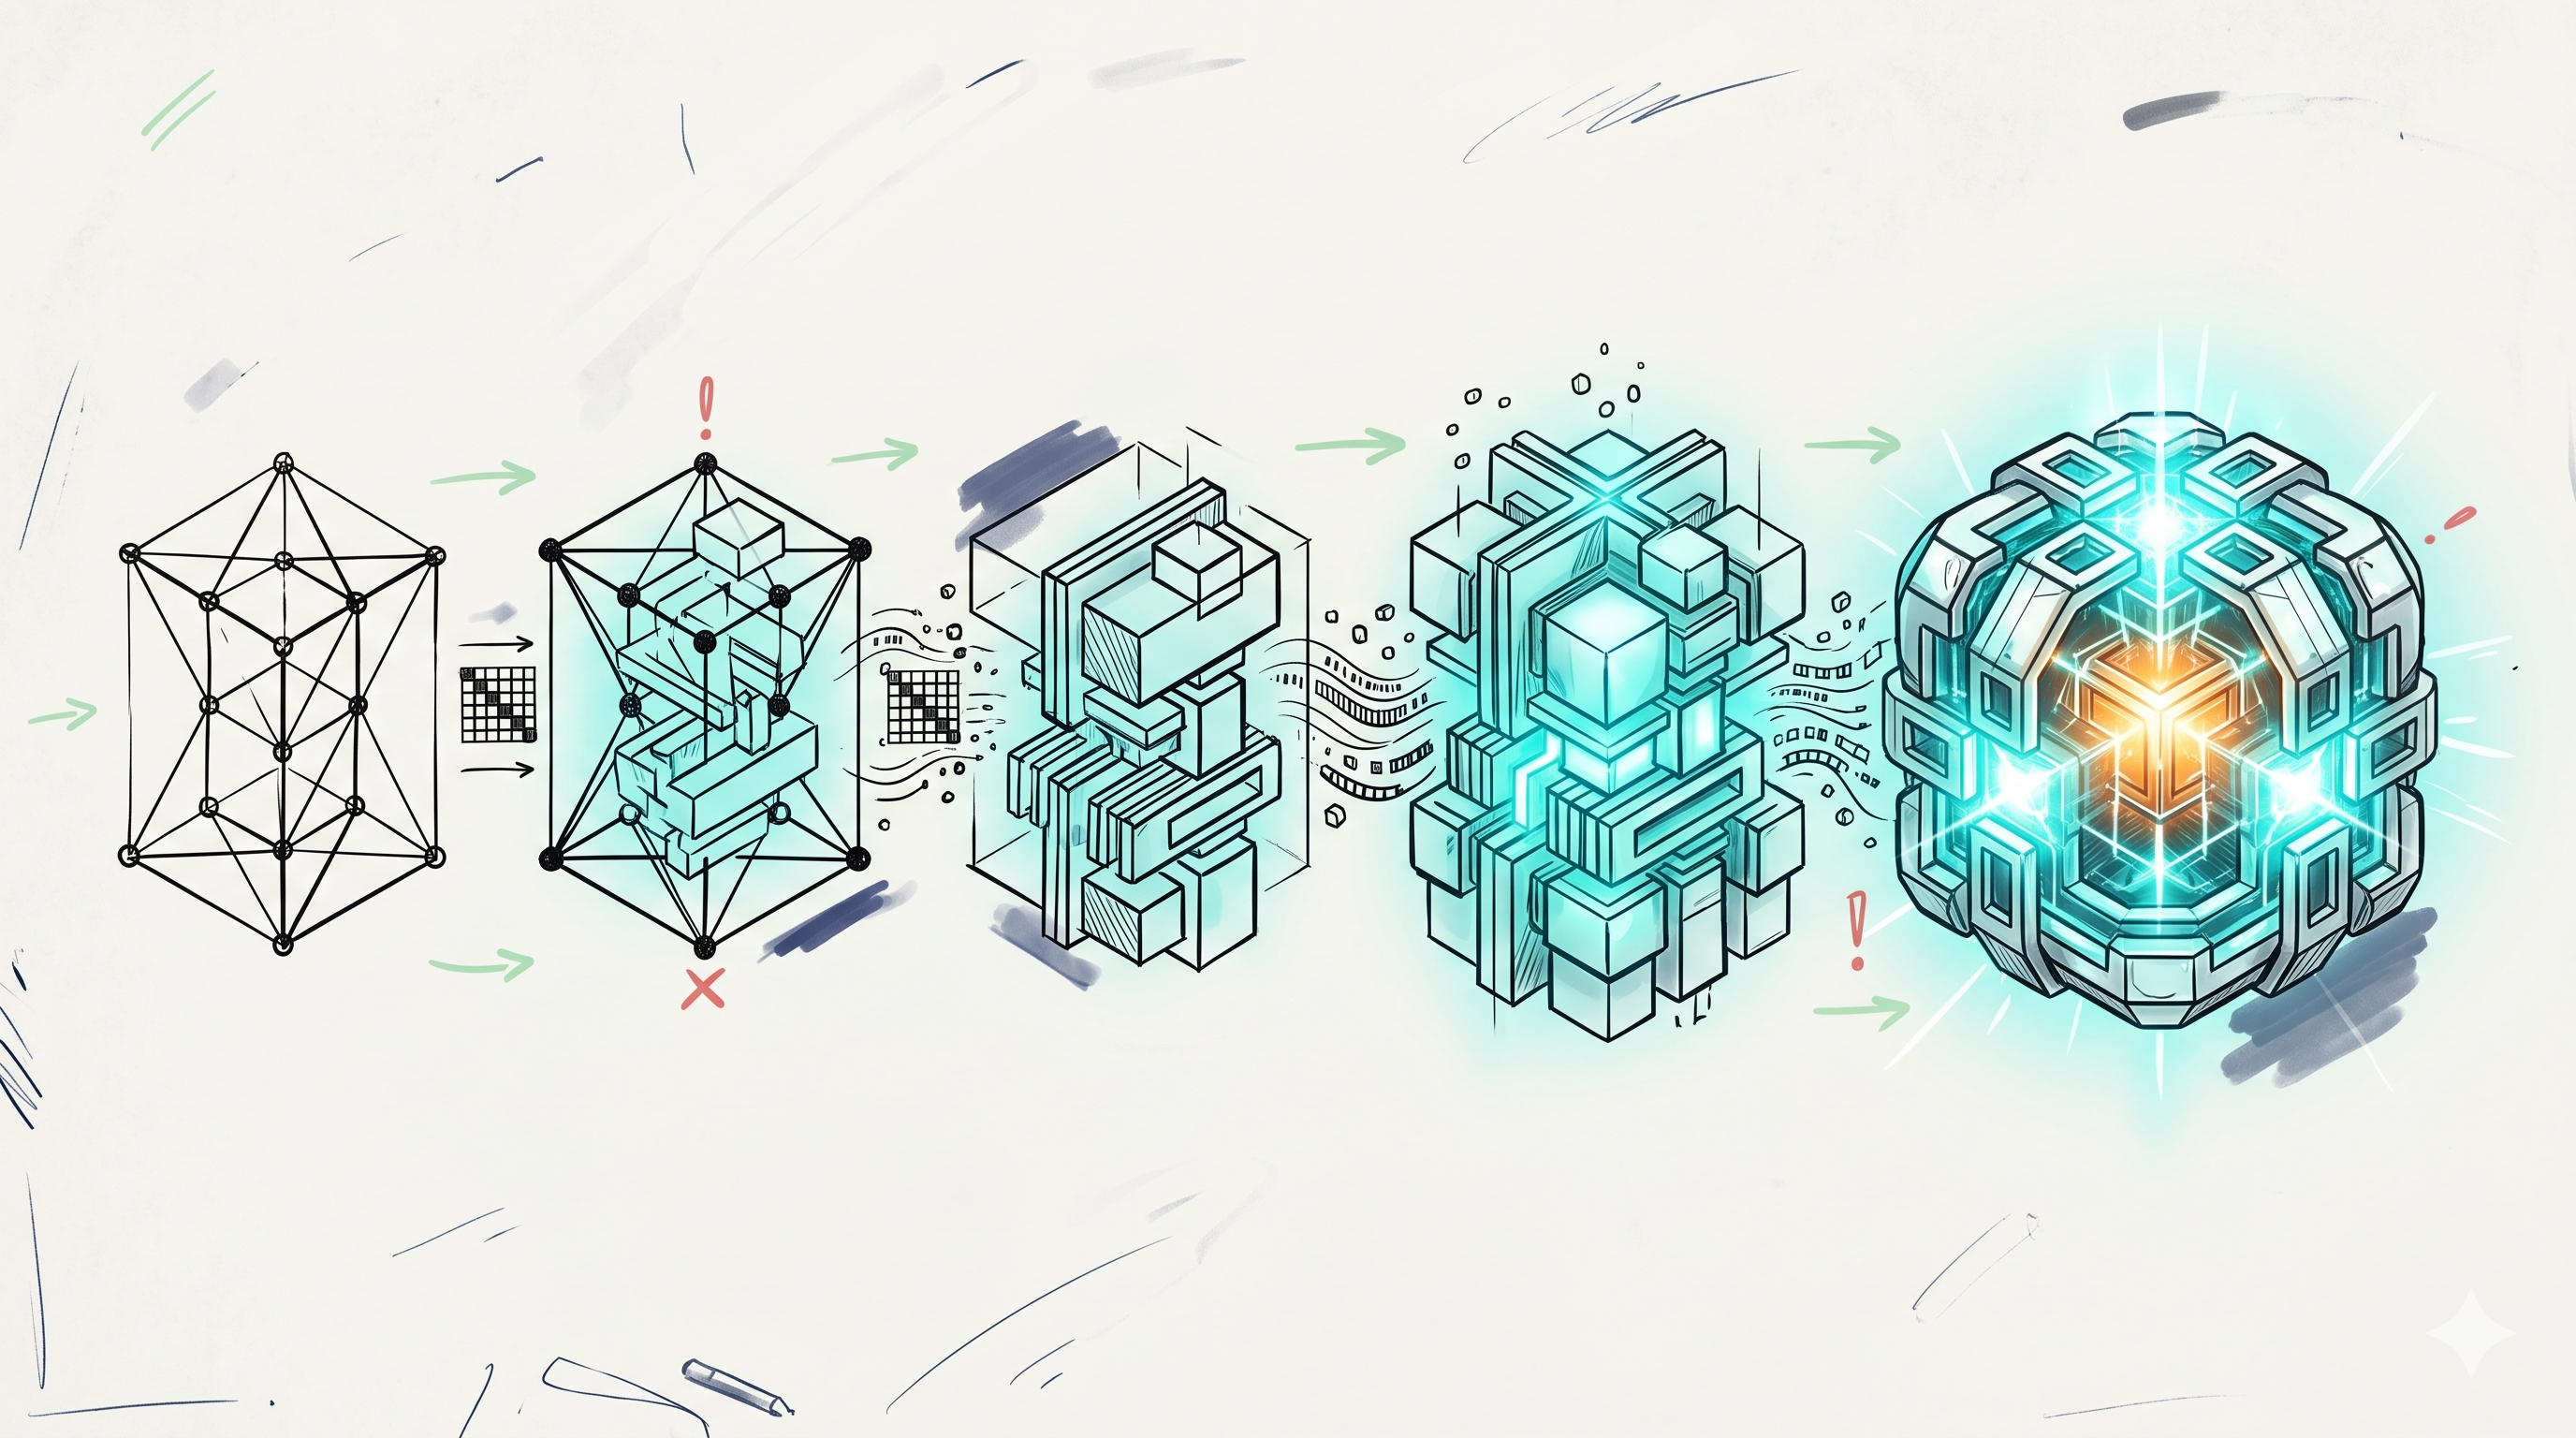
Most LLM tutorials give you one of two things: a high-level diagram with boxes and arrows, or a 10,000-line codebase with no explanation of why each piece exists.
This post is neither. It's a step-by-step lifecycle — 8 phases, each with working PyTorch code, the reasoning behind every decision, and an explicit Do / Don't list that captures the mistakes that cost most beginners weeks of wasted compute.
By the end you'll have built, trained, modernised, scaled, and aligned a language model — the exact same lifecycle that produced every major LLM you've used.
Phase 1: Core Transformer    → the engine
Phase 2: Train a Tiny LLM    → prove the pipeline works
Phase 3: Modernise           → match 2026 architecture
Phase 4: Scale Efficiently   → push past toy datasets
Phase 5: Mixture of Experts  → conditional computation
Phase 6: SFT                 → turn autocomplete into an assistant
Phase 7: Reward Modelling    → teach the model what "good" looks like
Phase 8: RLHF                → optimise for human preference
Every snippet in this post has been executed end-to-end on Python 3.13 + PyTorch 2.12, CPU only — including the full 5,000-step Phase 2 training run. Where a verification test caught a bug in an earlier draft (the KV cache, the reward model head, the PPO log-prob gather), the fix is in the code below and the test that caught it is shown so you can run it on your own implementation.
Prerequisites: comfortable Python, basic tensor operations (view, transpose, broadcasting), and the chain rule. No prior transformer experience — that's what Phase 1 is for.